


In this article, we'll show you how to make New York-style pizza!
If you'd like to learn more about American-style pizza, including New York-style pizza, check out the article below!
How to Make New York-Style Pizza
Ingredients
Pizza Dough
- Bread flour … 360g
- Water … 206 ml
- Granulated sugar … 12g
- Salt … 12 g
- Instant dry yeast … about 0.8 g
- Vegetable oil … 12 g
Tomato sauce
- Canned whole tomatoes … 400g
- Salt … 3 g
- Granulated sugar … 2–4 g
- Dried oregano … 1/2 teaspoon
- Garlic … a small amount (to taste)
Toppings
- Low-moisture mozzarella cheese … 200g
- Grated cheese (such as Parmesan) … 10–15 g
- Dried oregano … to taste
- Red chili flakes … to taste
How to cook them
① Make the dough
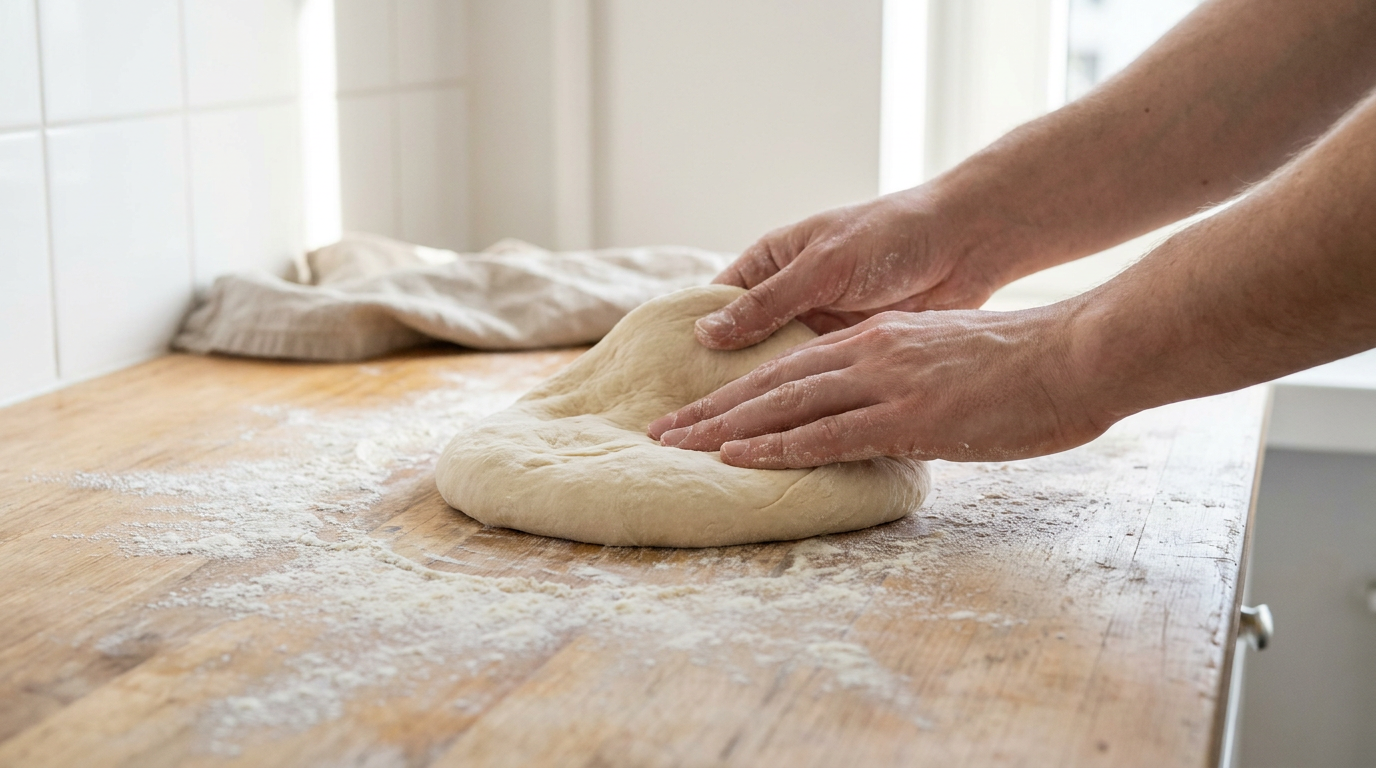
First, let's make the dough that will serve as the base for the pizza.
Take a large bowl and add the following ingredients.
- Bread flour … 360g
- Granulated sugar … 12g
- Salt … 12 g
- Instant dry yeast … about 0.8 g
Using a whisk or spoon, gently mix everything together.
Add 206 ml of water and 12 g of vegetable oil.
Mix with a rubber spatula or spoon, and knead until there are no more lumps.
It's okay if it's in rough shape at first.
Once the dough is no longer powdery, transfer it to a work surface and knead it by pressing and stretching with the base of your palms."
Press down on the dough to flatten it, then fold it; repeat this process for about 5 to 10 minutes.
Once the surface gradually becomes smoother and forms a cohesive whole, you're done.
Even if the dough sticks to your hands, do not add a large amount of bread flour right from the start.
Adding too much flour will cause the dough to become stiff.
Even if it feels slightly sticky, continuing to knead will help it come together.
② Let the dough rest
Return the kneaded dough to the bowl and cover it with plastic wrap or a lid to prevent it from drying out.
Let it rest at room temperature for about 1 hour.
Letting the dough rest for this amount of time allows it to settle, making it easier to shape later.
At this stage, it's okay if it hasn't expanded much yet.
Points to Check
- The surface isn't dry
- The fabric is all in one piece.
- A little plump
③ Divide the dough into two equal parts
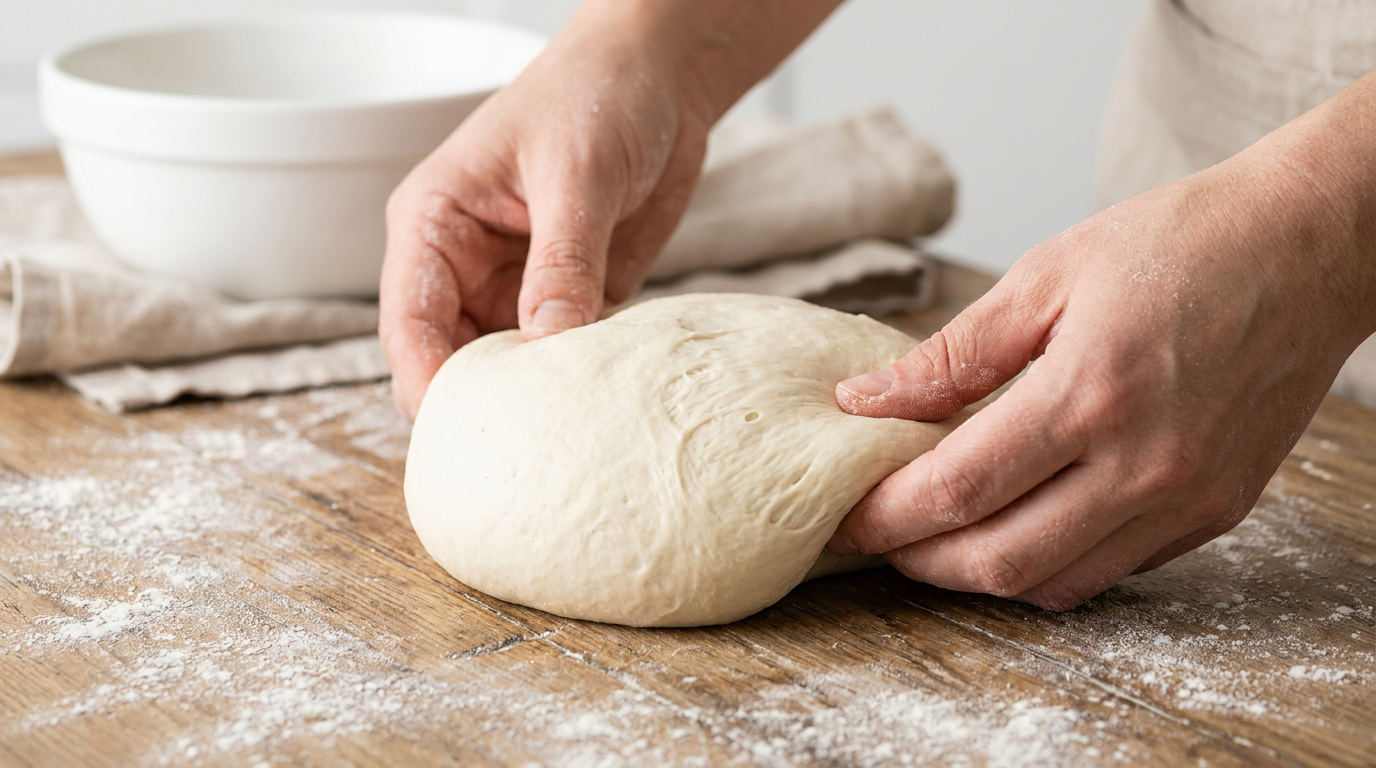
Take the rested dough out onto the work surface and divide it into two equal parts.
Next, roll each piece of dough into a ball and smooth out the surface as much as possible."
The approximate weight per piece is 300 grams.
Place the rolled-up dough in a lightly oiled container or similar, and cover it to prevent it from drying out.
Roll the dough by gathering the surface from the edge toward the bottom.
The idea is to pull the surface of the round dough taut so that the seam is hidden on the underside.
Also, rolling gently helps create a smoother surface.
④ Let the dough rise
Let the rolled-up dough rest, covered so it doesn't dry out.
Generally, the method of letting it rest at room temperature for 8 to 10 hours is used.
However, this may vary depending on room temperature and the condition of the yeast.
Fermentation proceeds more quickly in a warm room, while it may take longer in a cold room.
Guidelines After Fermentation
- The dough is fluffy
- The surface is smooth.
- It has risen more than it did right after kneading.
If the dough swells excessively and falls apart, or if it has an unusual odor, please check its condition.
A Method Using a Refrigerator
The rate of fermentation depends on the room temperature.
For this reason, rather than letting the dough ferment at room temperature for a long time, we also recommend using the refrigerator .
After kneading and shaping the dough, place it in a covered container and let it rise slowly in the refrigerator for 12 to 24 hours.
Then, remove it from the refrigerator about 1 to 2 hours before baking, let it come to room temperature, and then shape it.
Since fermentation times and temperature control differ between refrigerated and room-temperature fermentation, please do not treat them as having the same duration.
⑤ Make the tomato sauce
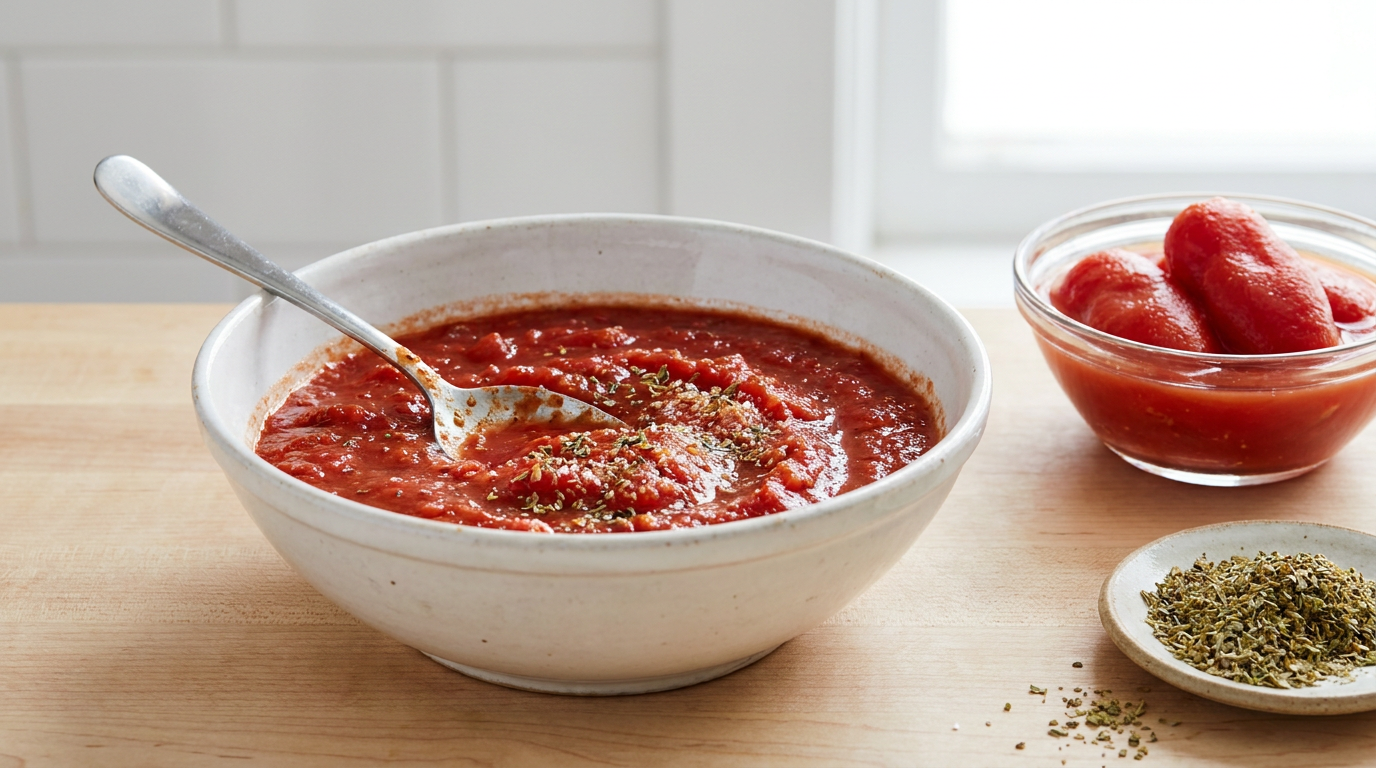
While the dough is rising, make the tomato sauce.
First, place a 400-gram can of whole tomatoes in a bowl and mash them with a fork or your hands.
If you want a smooth sauce, you can use a blender.
Next, add the following seasonings to a bowl.
- Salt … 3 g
- Granulated sugar … 2–4 g
- Dried oregano … 1/2 teaspoon
- Garlic … a small amount, to taste
Once you've mixed it well, please taste it.
If it tastes too sour, add a little sugar; if it tastes too bland, add a small amount of salt to adjust the flavor.
This sauce is basically ready to use as is.
If the tomatoes are very juicy, reducing the amount of tomato juice slightly will help prevent the dough from becoming watery.
⑥ Preheat the oven
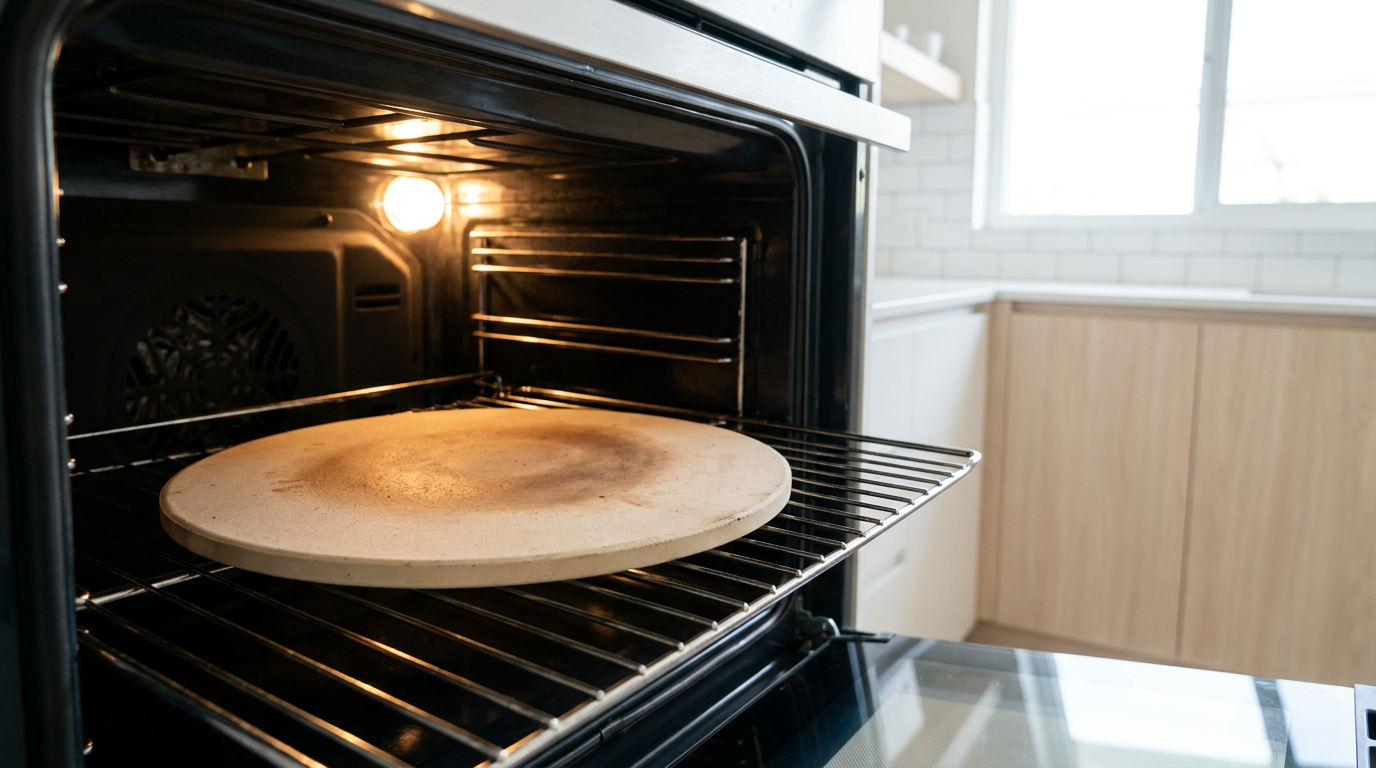
To bake delicious New York-style pizza, it's important to preheat the oven thoroughly.
Therefore, set the oven to the highest temperature possible and preheat it for about 60 minutes.
As a general guideline, use a home oven set to about 250–300°C.
Baking time and results may vary depending on the oven's performance.
Pizza Stone
A pizza stone is a tool used to thoroughly bake the bottom of a pizza.
If you have one, preheat it while it's inside the oven.
If you don't have one, you can turn a thick cutting board over and use that instead.
Placing it in the oven to preheat will help the heat transfer more easily to the bottom.
However, it's difficult to achieve the same results in a home oven as you would in an authentic pizza oven.
Therefore, please adjust the settings while checking the color and texture of the dough.
Hot baking sheets and pizza stones get very hot.
Be sure to use oven mitts when handling them, and be careful not to burn yourself.
⑦ Roll out the dough thinly
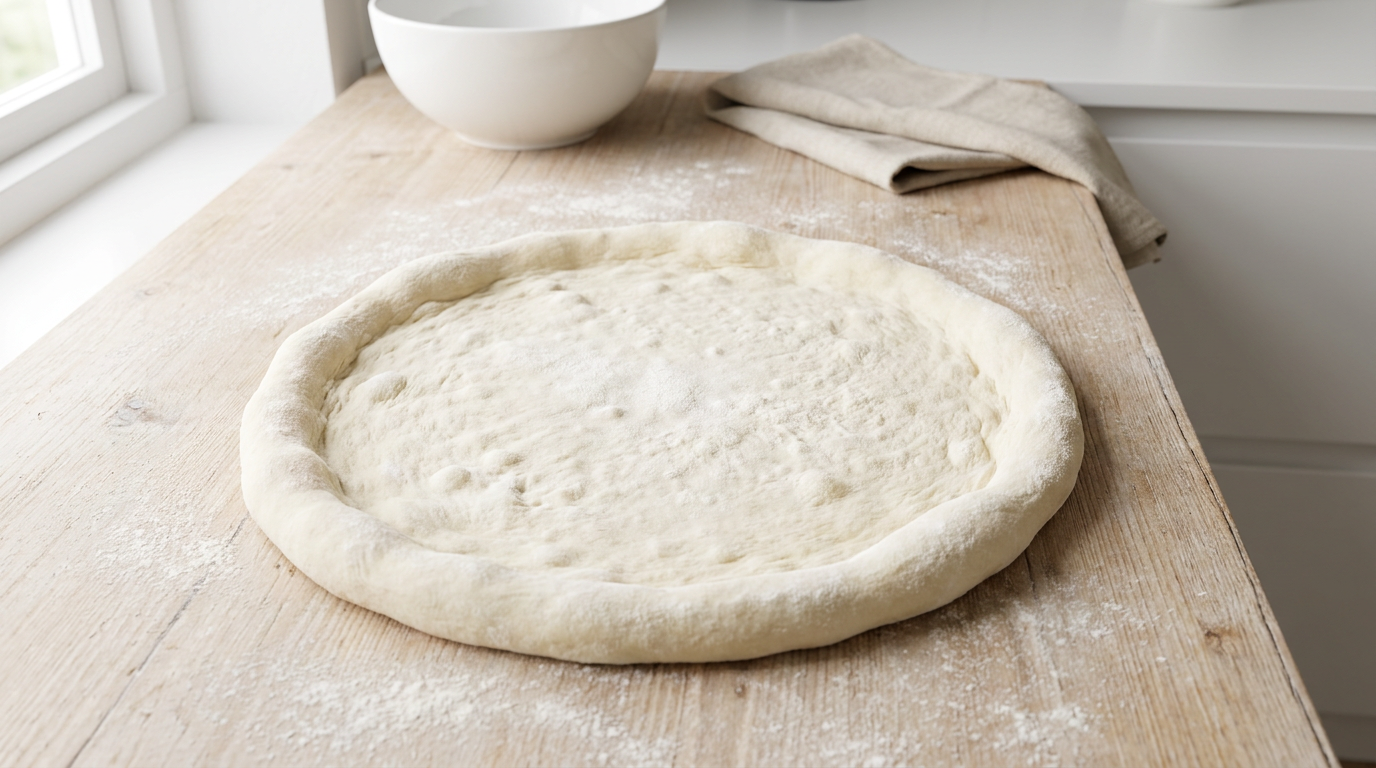
Now it's time to finish it off with a thin crust, just like a New York-style pizza.
First, sprinkle a small amount of bread flour on the work surface, then place the dough on it.
Next, use your fingertips to push out the center of the fabric and gradually stretch it outward."
At this point, leave the outer edge slightly thicker.
Leaving a rim creates a crispy crust (the base of the pizza dough) when it's baked.
Next, use the palms of your hands and your fingertips to gradually spread the dough into a circle.
The target diameter is approximately 25 to 30 cm.
If you pull too hard at the beginning, it may tear, so please stretch it little by little.
If it's hard to stretch, let it rest for about 5 to 10 minutes, then try stretching it again.
You can use a rolling pin if you like.
However, if you press too hard, the edges will become too thin, so be sure to leave a little thickness toward the outside.
⑧ Top with sauce and cheese
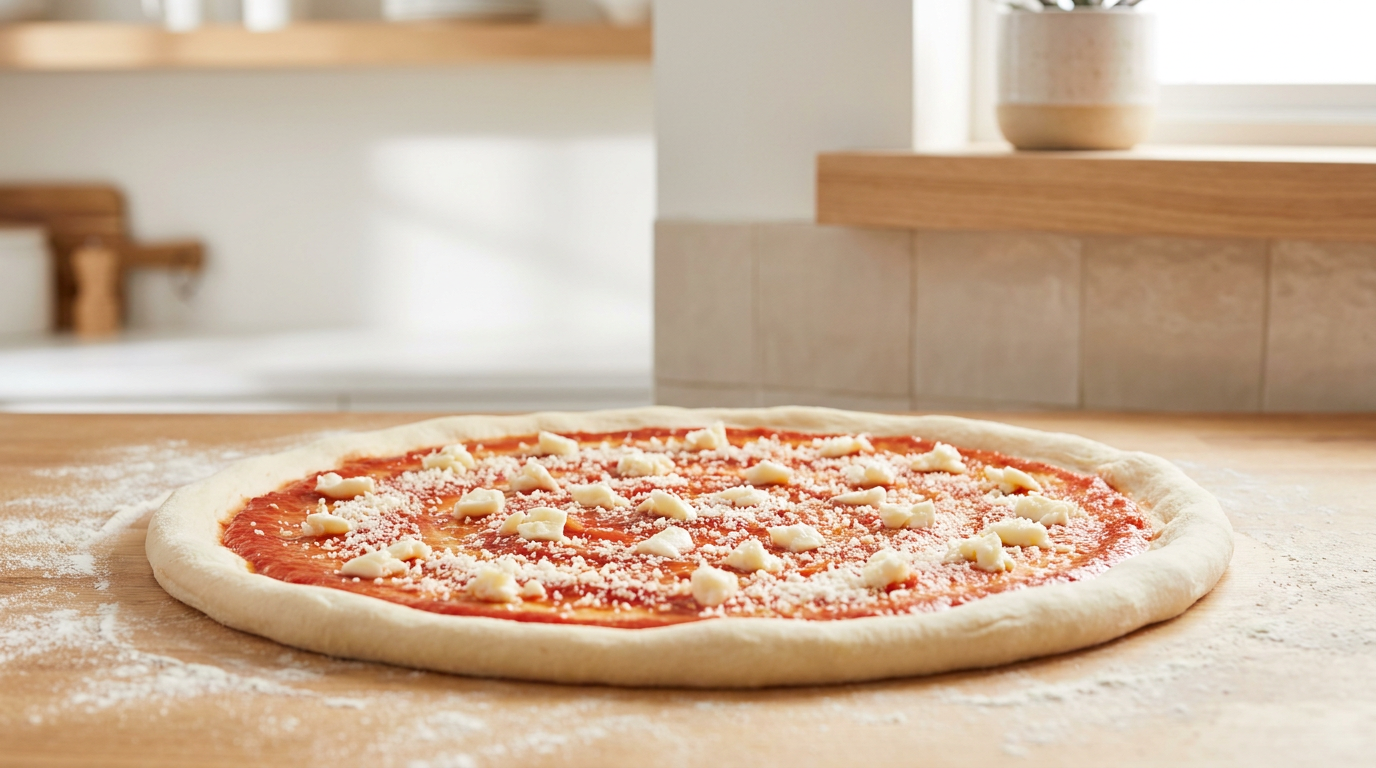
Once you've rolled out the dough, add the toppings.
First, spread the tomato sauce.
Spread a thin layer of sauce on each slice, aiming for about 100 to 130 grams per slice.
Leave about 1 to 1.5 cm along the outer edge without spreading any sauce.
Be careful not to add too much sauce, as this can make the dough watery.
Next, add the mozzarella cheese.
Evenly sprinkle about 100 grams of mozzarella cheese per slice.
Spread it evenly over the entire surface, rather than concentrating it in one area.
Finally, sprinkle a suitable amount of grated cheese on top.
It adds a toasty aroma and a cheesy flavor.
Please don't put too many toppings on it.
With New York-style pizza, the balance between the crust, tomato sauce, and_ cheese is key.
⑨ Baking a pizza
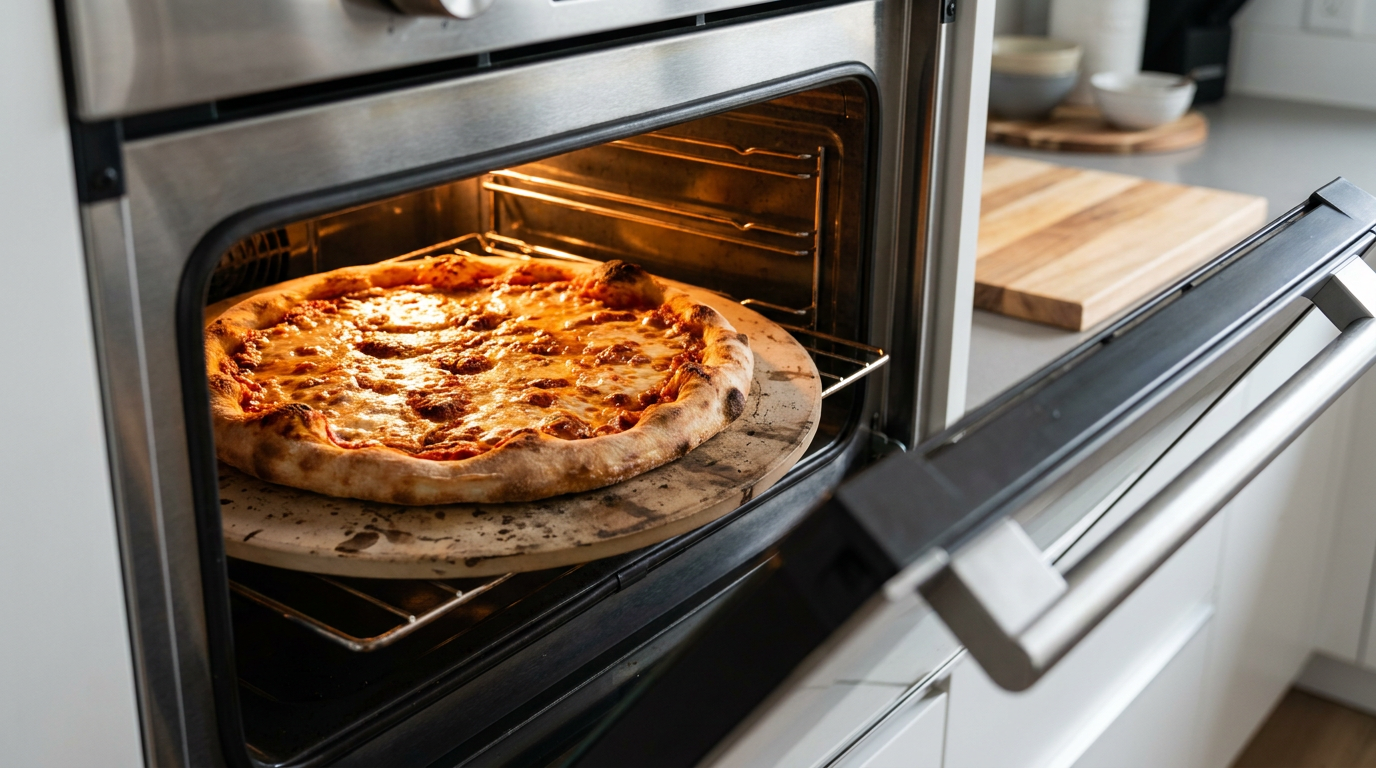
Place the pizza in the preheated oven.
Baking time varies depending on the oven temperature and the thickness of the dough.
| Oven Temperature Setting | Approximate baking time |
|---|---|
| 250℃ | About 10 to 15 minutes |
| 270℃ | About 8 to 12 minutes |
| 300℃ | About 6 to 10 minutes |
The above are general guidelines for home ovens.
Actual baking times may vary depending on the oven model and preheating conditions, so please adjust the time as needed while monitoring the color of the baked goods.
How to Check if It's Done Baking
When it reaches the following state, it's done baking.
- The cheese is melting
- The edges of the dough have a golden-brown crust.
- The bottom is browned, and the dough isn't soggy when you pick it up.
- There are patches of browning on the surface.
If the food isn't browned enough, continue cooking for an additional 1 to 2 minutes at a time, checking as you go.
If it looks like the cheese might burn before the rest is done, be careful not to extend the cooking time too much.
Once it's done baking, remove the pizza from the oven, let it rest for 1 to 2 minutes, and then cut it.
Sprinkle with dried oregano or red pepper flakes to taste, and it's ready to serve.
Tips to Help Beginners Avoid Mistakes
When making New York-style pizza for the first time, it’s a good idea to keep the following five points in mind.
① Let the dough rise thoroughly.
If the fermentation time is too short, the dough may not rise properly or the texture may become hard.
Don't judge by time alone; be sure to check the rise and condition of the dough as well.
② Do not pull the fabric too hard
If you pull too hard, the fabric may tear.
If it's hard to stretch, let it rest for 5 to 10 minutes, then try stretching it again.
③ Don't use too much sauce
If there's too much sauce, the center will become watery, and the bottom won't brown as easily.If there's too much sauce, the center will become watery, and the bottom won't brown as easily.
Start by applying a small amount, and adjust as needed.
④ Preheat the oven thoroughly
If the oven isn't hot enough when you put the pizza in, the bottom won't brown properly.
If you're using a pizza stone or baking sheet, preheat them at the same time.
⑤ Judge when it's done by its color and texture
The baking time is only a guideline.
Check to see if the edges and bottom of the crust are browned and if the cheese has melted.
References and Sources
- King Arthur Baking — New York-Style Pizza
- Sur La Table — New York-style Pizza Dough(Kenji López-Alt / Serious Eats)
- NYC Pizza Map — How to Make a Real New York-Style Pizza

Comments